How To See the Iceland Northern Lights In 2025
Seeing the Iceland Northern Lights is high up on many people’s bucket list and is one of the best things to do in Iceland.
These days you can book Northern Lights holidays with the hope of seeing this natural yet elusive light display, but even these Northern Lights trips can’t guarantee a sighting and it often comes down to luck.
Our top tips below will give you all you need to know about the Iceland Northern Lights to give you the best chance of seeing them. We’ve also written a couple of useful articles on visiting Iceland for the first time, and 10 tips on having a cheap Iceland holiday.
Going Northern Lights hunting in Lapland? You might like to read about how to book a DIY Lapland trip on a budget.
This post contains affiliate links. If you click on one and book or buy something, we may earn a small commission but this is at no extra cost to you.
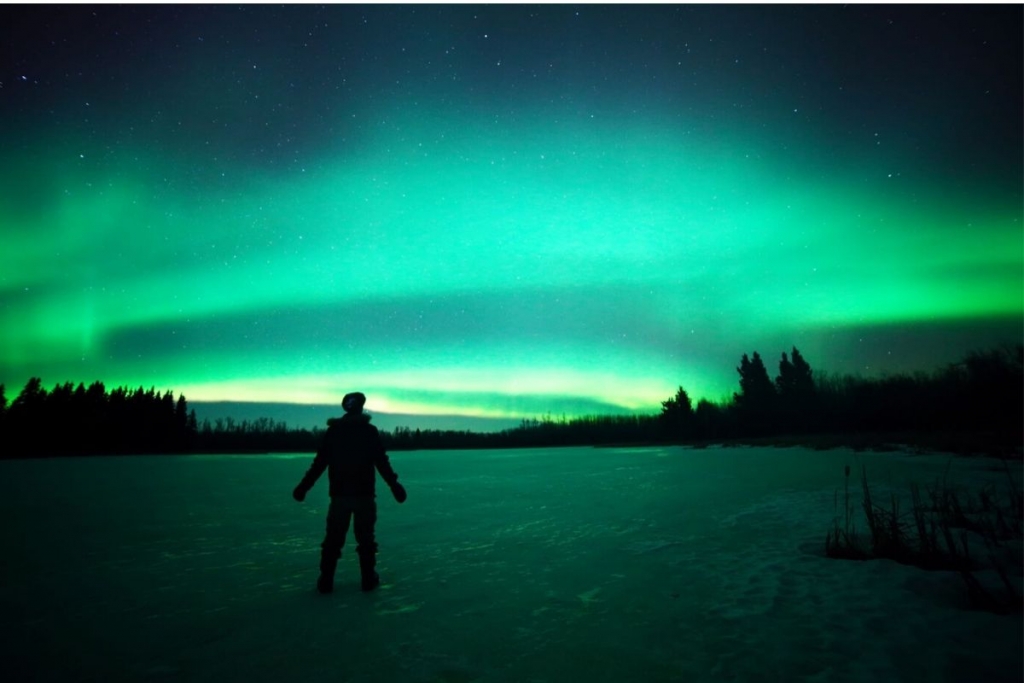
Watching the Northern Lights in Iceland
What are the Northern Lights?
There’s a technical way of explaining this phenomenon, and there’s a non-technical way. Technically, the Northern Lights (more formally known as the Aurora Borealis) are the result of electrically charged solar particles colliding with gaseous particles such as oxygen and nitrogen in the earth’s atmosphere.
Different gases cause different colours. Most commonly seen are the greens, but you may also see pinks and purples. They occur from around 60 miles above the earth’s surface to about 600 miles above. You can even see the Northern Lights from space.
In non-technical terms, the Northern Lights is like a psychedelic laser show dancing across the night sky, and is totally mesmerising.
When we explained this to the kids, they really wanted to see it. We were then left with the problem of over-promising and potentially under-delivering as nobody can guarantee seeing the Northern Lights.
Where can I see the Northern Lights?
The Northern Lights appear best close to the Arctic Circle. Some of the most popular viewing places (assuming you aren’t on a Sir Ranulph Fiennes style Arctic Expedition), are populated towns such as Tromso in Norway or Mormansk, Vorkuta or Norilsk in Russia.
If you can’t or don’t want to travel that far, Iceland is a great alternative. It’s only a 2.5-hour direct flight from London to Iceland (see cheap fares with Easyjet).
It can be incorporated as a stopover if you’re flying with Iceland Air from the US to Europe. If you’re very lucky, you may even see the Northern Lights from the plane.
The great thing about travelling to Iceland to (try to) see the Northern Lights is that the country is so incredibly beautiful, even if you don’t see the Iceland Northern Lights, you won’t be disappointed!
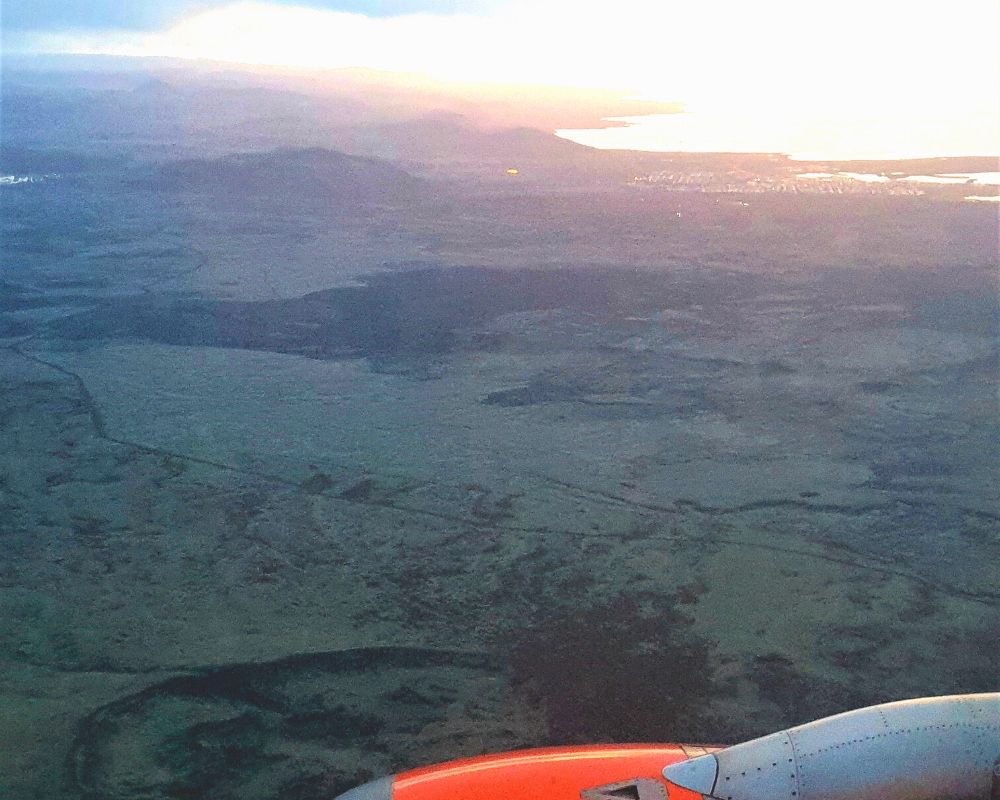
Easyjet flight from London to Iceland
Can anyone predict the Northern Lights?
The short answer is no.
As said above, it’s mainly down to luck as to whether you see the lights or not. The longer you stay in Iceland, the better chance you have of seeing them.
That being said, you can track the Iceland aurora forecast and cloud cover forecast which is quite a big help, (plus there are some great articles to help you find the Northern Lights).
The Iceland Northern Lights forecast is only worth looking at a couple of days in advance. This is fine if you hired a car as you’ll have the flexibility to choose when you go out. It’s not so useful if you’ve booked your tour well in advance.
When is the best time to see the Iceland Northern Lights?
The best time of year to see the Northern Lights in Iceland is between September and April. The nights are longer in the winter months with only 4 hours of daylight on 21st December (winter solstice) versus 21 hours of daylight on 21st June (summer solstice).
The best nights to see the Northern Lights Iceland are when there is a new moon as moonlight can fade the aurora.
There should be clear skies because cloud cover will obviously also cover the lights. The level of solar activity is also an essential factor.
In theory, these are the optimal viewing conditions, but even if all of these are met, you still may not see them. You may also see them in daylight. Just keep checking the sky as you make your way around Iceland.
The best time to head out to see the lights is usually after 22.00, well after sundown. It’s recommended that you spend at least a couple of hours waiting to see them.
Some northern lights tours take up to 4 hours which is not great for the kids (or other paying adults on the trip!). This is why we prefer hiring a car in Iceland and doing a self-drive tour. We booked our Iceland rental car through Rentalcars.com.
If you are doing a self-drive tour, check with your hotel whether they offer a special Northern Lights wake-up service so you don’t have to stay up on the off chance of seeing them.
We visited Iceland in October and were lucky to see them on 3 nights out of the 6 nights we were there.
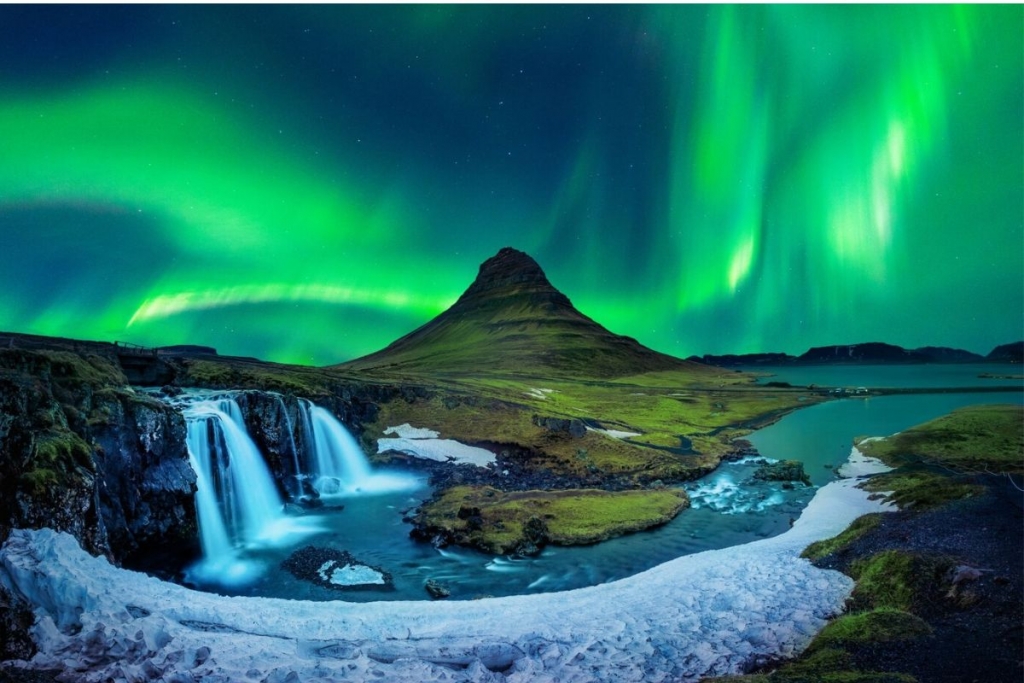
Northern lights at Kirkjufell in Iceland
Where is the best place to see Northern Lights in Iceland?
The best places to see the Northern Lights in Iceland are around the Westfjords or northern Iceland. They have longer hours of darkness.
They are also a little less populated which is key because there should be as little light pollution as possible.
Visiting the Westfjords,? Make sure to check out Dynjandi waterfall, one of the best waterfalls in Iceland.
If you’re on a short break to Iceland, you won’t have time to make it that far to see the lights. An alternative is to head to the countryside surrounding Selfoss in the south which is reportedly a good spot.
If you’re on a Reykjavik city break and don’t want to take a tour or hire a car, you can still have a chance of seeing the Reykjavik Northern Lights.
Head out to the most northwestern point of Iceland, the Seltjarnarnes peninsula, where the Grotta lighthouse is located. This is one of the things you can do in Reykjavik at night.
We were staying at the Icelandair Hotel Reykjavik Natura and were lucky enough to see them from the hotel even with all the light pollution, but this is rare.
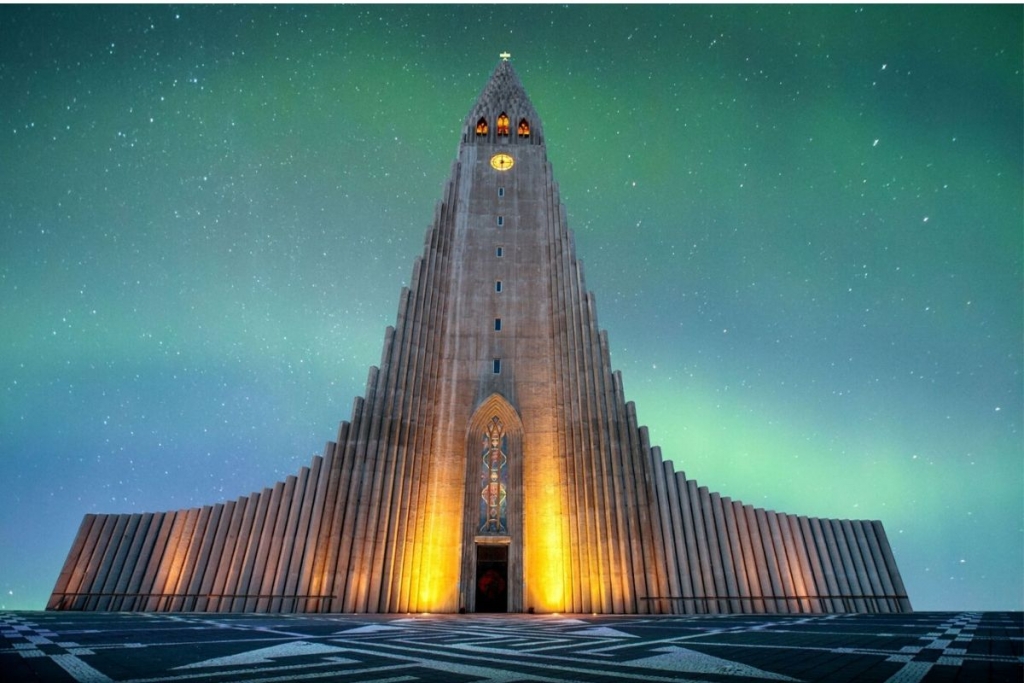
Hallgrimskirkja in Reykjavik with northern lights
How can I see the Iceland Northern Lights?
Northern Lights tours
Iceland Northern Lights tours are a good option if you’re not on a budget because they are run by local guides who are skilled in hunting the Northern Lights.
During the night they will most likely speak to their network of northern light chasing friends and be able to locate the best spots for seeing them.
The tours will run unless there is really bad weather with zero chance of seeing the lights. In this case, the tour will be cancelled and you should receive a refund.
This means, however, that the tours will run on all other nights and you may go out and still not see the lights. Here are some Northern Lights tours you can try.
Northern Lights cruises
One of the best ways of seeing the lights if you’re staying in Reykjavik is to take a cruise away from the city lights.
These last a few hours. Some tour operators offer a free ticket to go again if you don’t see the lights on the first night.
If you’re wanting to photograph the Northern Lights, the boat is not the best option. You need to keep the camera absolutely still with a long exposure of up to 30 seconds for a great shot. Any movement will cause blurring.
Check Extreme Iceland for a Northern Lights boat cruise. It’s around $88 per person and there is no age limit.
Self-drive Northern Lights tour
If you’re visiting Iceland on a budget or you’re travelling with kids, a self-drive tour gives you the most flexibility.
You will miss out on the local knowledge of a guide to help you find them but if it’s a good night for viewing them, you won’t need a guide.
Just head far enough out of the city (if you’re staying in Reykjavik) and away from the light pollution. If you’re in Reykjavik and don’t have a car, take a taxi to the Grotta lighthouse on the Seltjarnarnes peninsula, the most northwestern point in Iceland.
Our top tip is to head out to your car around the time the tour buses pick up people from your hotel. Check with your hotel what time this is but for us, it was around 8.30. Follow them as they will have the best data.
It is a bit cheeky but it’s a good option if you have small kids with you and realistically can’t spend 4 hours chasing the Northern Lights.
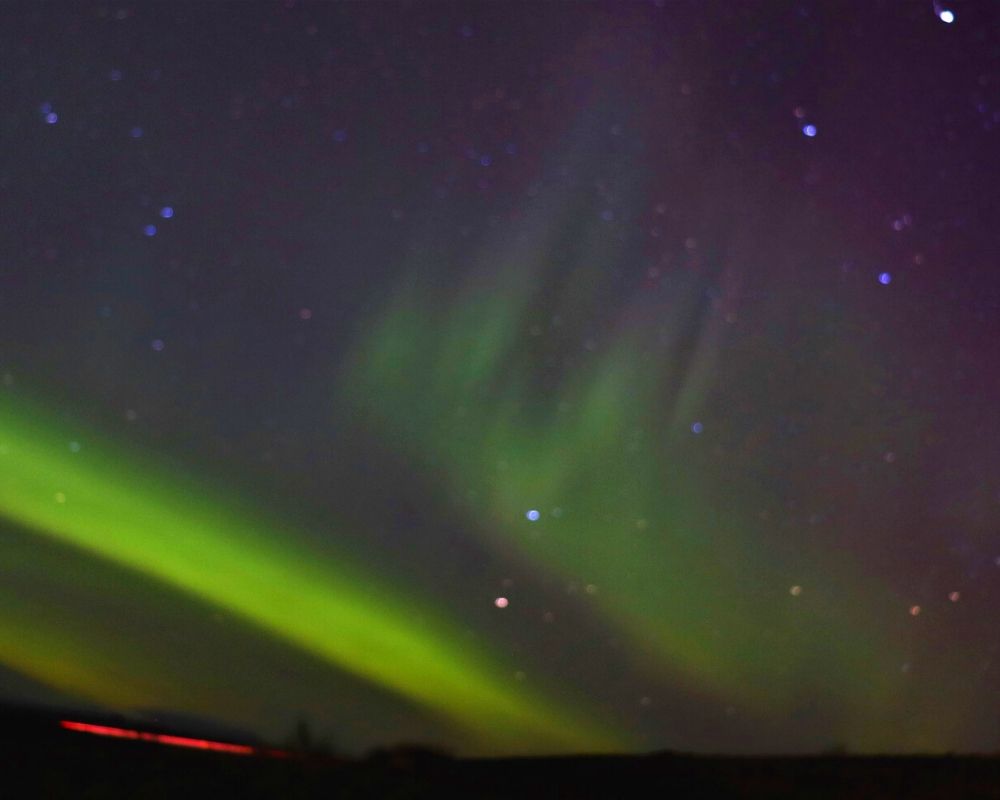
Blurred image of the Northern lights in Iceland taken without a tripod
What do I wear while Northern Light watching?
However you choose to (try to) see the Northern Lights, make sure you dress up warm. You may be out and about for a while and if you’re in Iceland between the recommended months of September to April, the nights will be cold.
Base layers, fleeces, thermal socks, gloves, hats and warm boots with a good, warm, all-weather jacket are essential.
You might find it helpful to read this guide to what to wear in Lapland as you should pack very similar clothes.
One thing we didn’t have but wished we did were these EasyOff gloves.
When you’re out in the cold taking your gloves off each time you want to take a photo, your fingertips get really really cold!
We saw people using them and have bought them for our next cold weather photography trip. While we’re on the subject of gloves, it wouldn’t be a bad idea to invest in a good pair of waterproof winter gloves for kids for your Iceland trip.
Photographing the Northern Lights
We are not professional photographers by any means and Aurora photography can be tricky but here are some tips for beginners that helped us.
What equipment do I need for Northern Lights photography?
You need a camera with a manual mode – This allows you to adjust the settings depending on the northern light conditions. We use a Canon 250D which is billed as the best digital camera for beginners. It’s really lightweight and easy to use.
You need a tripod – It needs to be sturdy. There cannot be any movement so you need a tripod that doesn’t shake or wobble over the 5-30 second exposure. We like this lightweight travel tripod.
How do I capture the Iceland Northern Lights?
One thing to note about the Northern Lights (and something we didn’t know before we saw them) is that what you will see with the naked eye is very different from what the camera will pick up.
If they’re not very strong, they may just look like clouds to the naked eye. But if you take a picture of them with a 30-second exposure, the camera will capture so much more.
Assuming you’re lucky enough to see them, here are some basic tips we learned about how to photograph the Northern Lights.
Shutter speed / exposure time: Anywhere between 5-30 seconds will work well for shooting the Northern Lights. When the aurora is moving quickly through the sky, try 5-7 second exposures. When it’s not moving as quickly, try 10-30 seconds.
Aperture: A wide-angle lens is good for capturing the Northern Lights but we made do with the standard 18-55mm that came with the camera. Set to a low f-stop. With our camera and lens combination, it was f/4. Recommended settings are between f/2.8-f/4.
ISO: Try a setting between 800 and 2500. The brighter the Northern Lights are, the lower the ISO you need.
Focus: You can’t focus at night so you will need to set the focus in the daylight. Set your camera to manual mode and focus on the horizon.
Make sure the horizon is in focus and then mark that point on the lens. You can then set to this point when it’s dark and you’re ready to take photos.
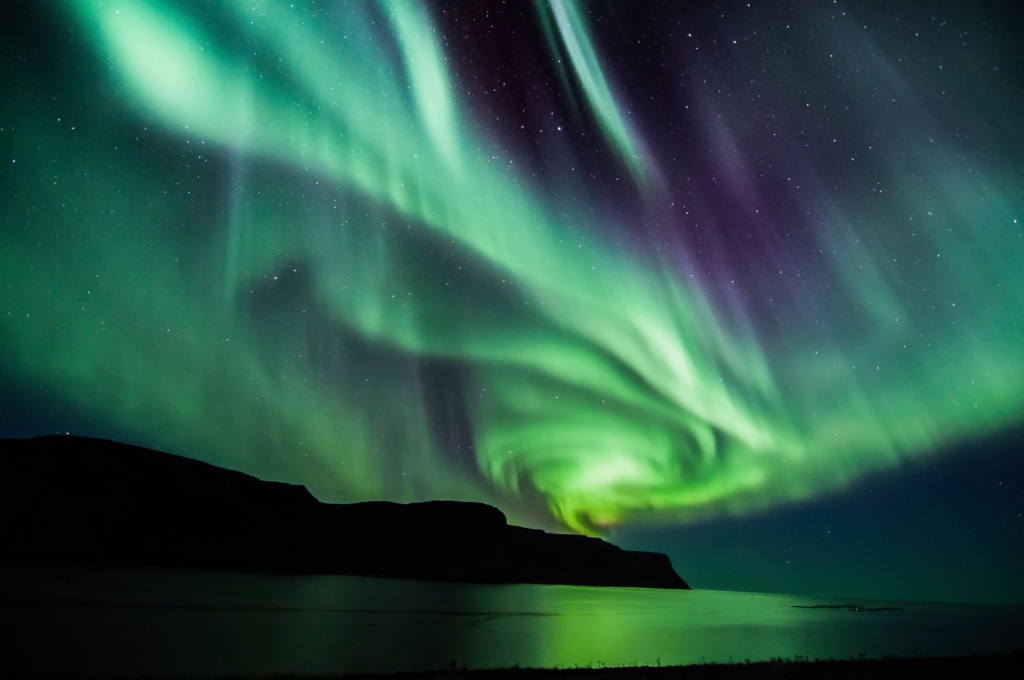
Northern lights in Iceland
If you found this Iceland Northern Lights post helpful, why not bookmark it, share it with friends or pin it?



thanks for this post, some really useful tips – loving the fingerless glove idea!! It must get super-cold standing around at nighttime outside…
I’m so glad you found it useful. The fingerless gloves are a great find! It was amazing how quickly our fingertips froze when trying to take photos, not just of the northern lights.